DIY Mini Abstract Paintings
This post may contain affiliate links, which means I may receive a small commission, at no cost to you, if you make a purchase through a link.
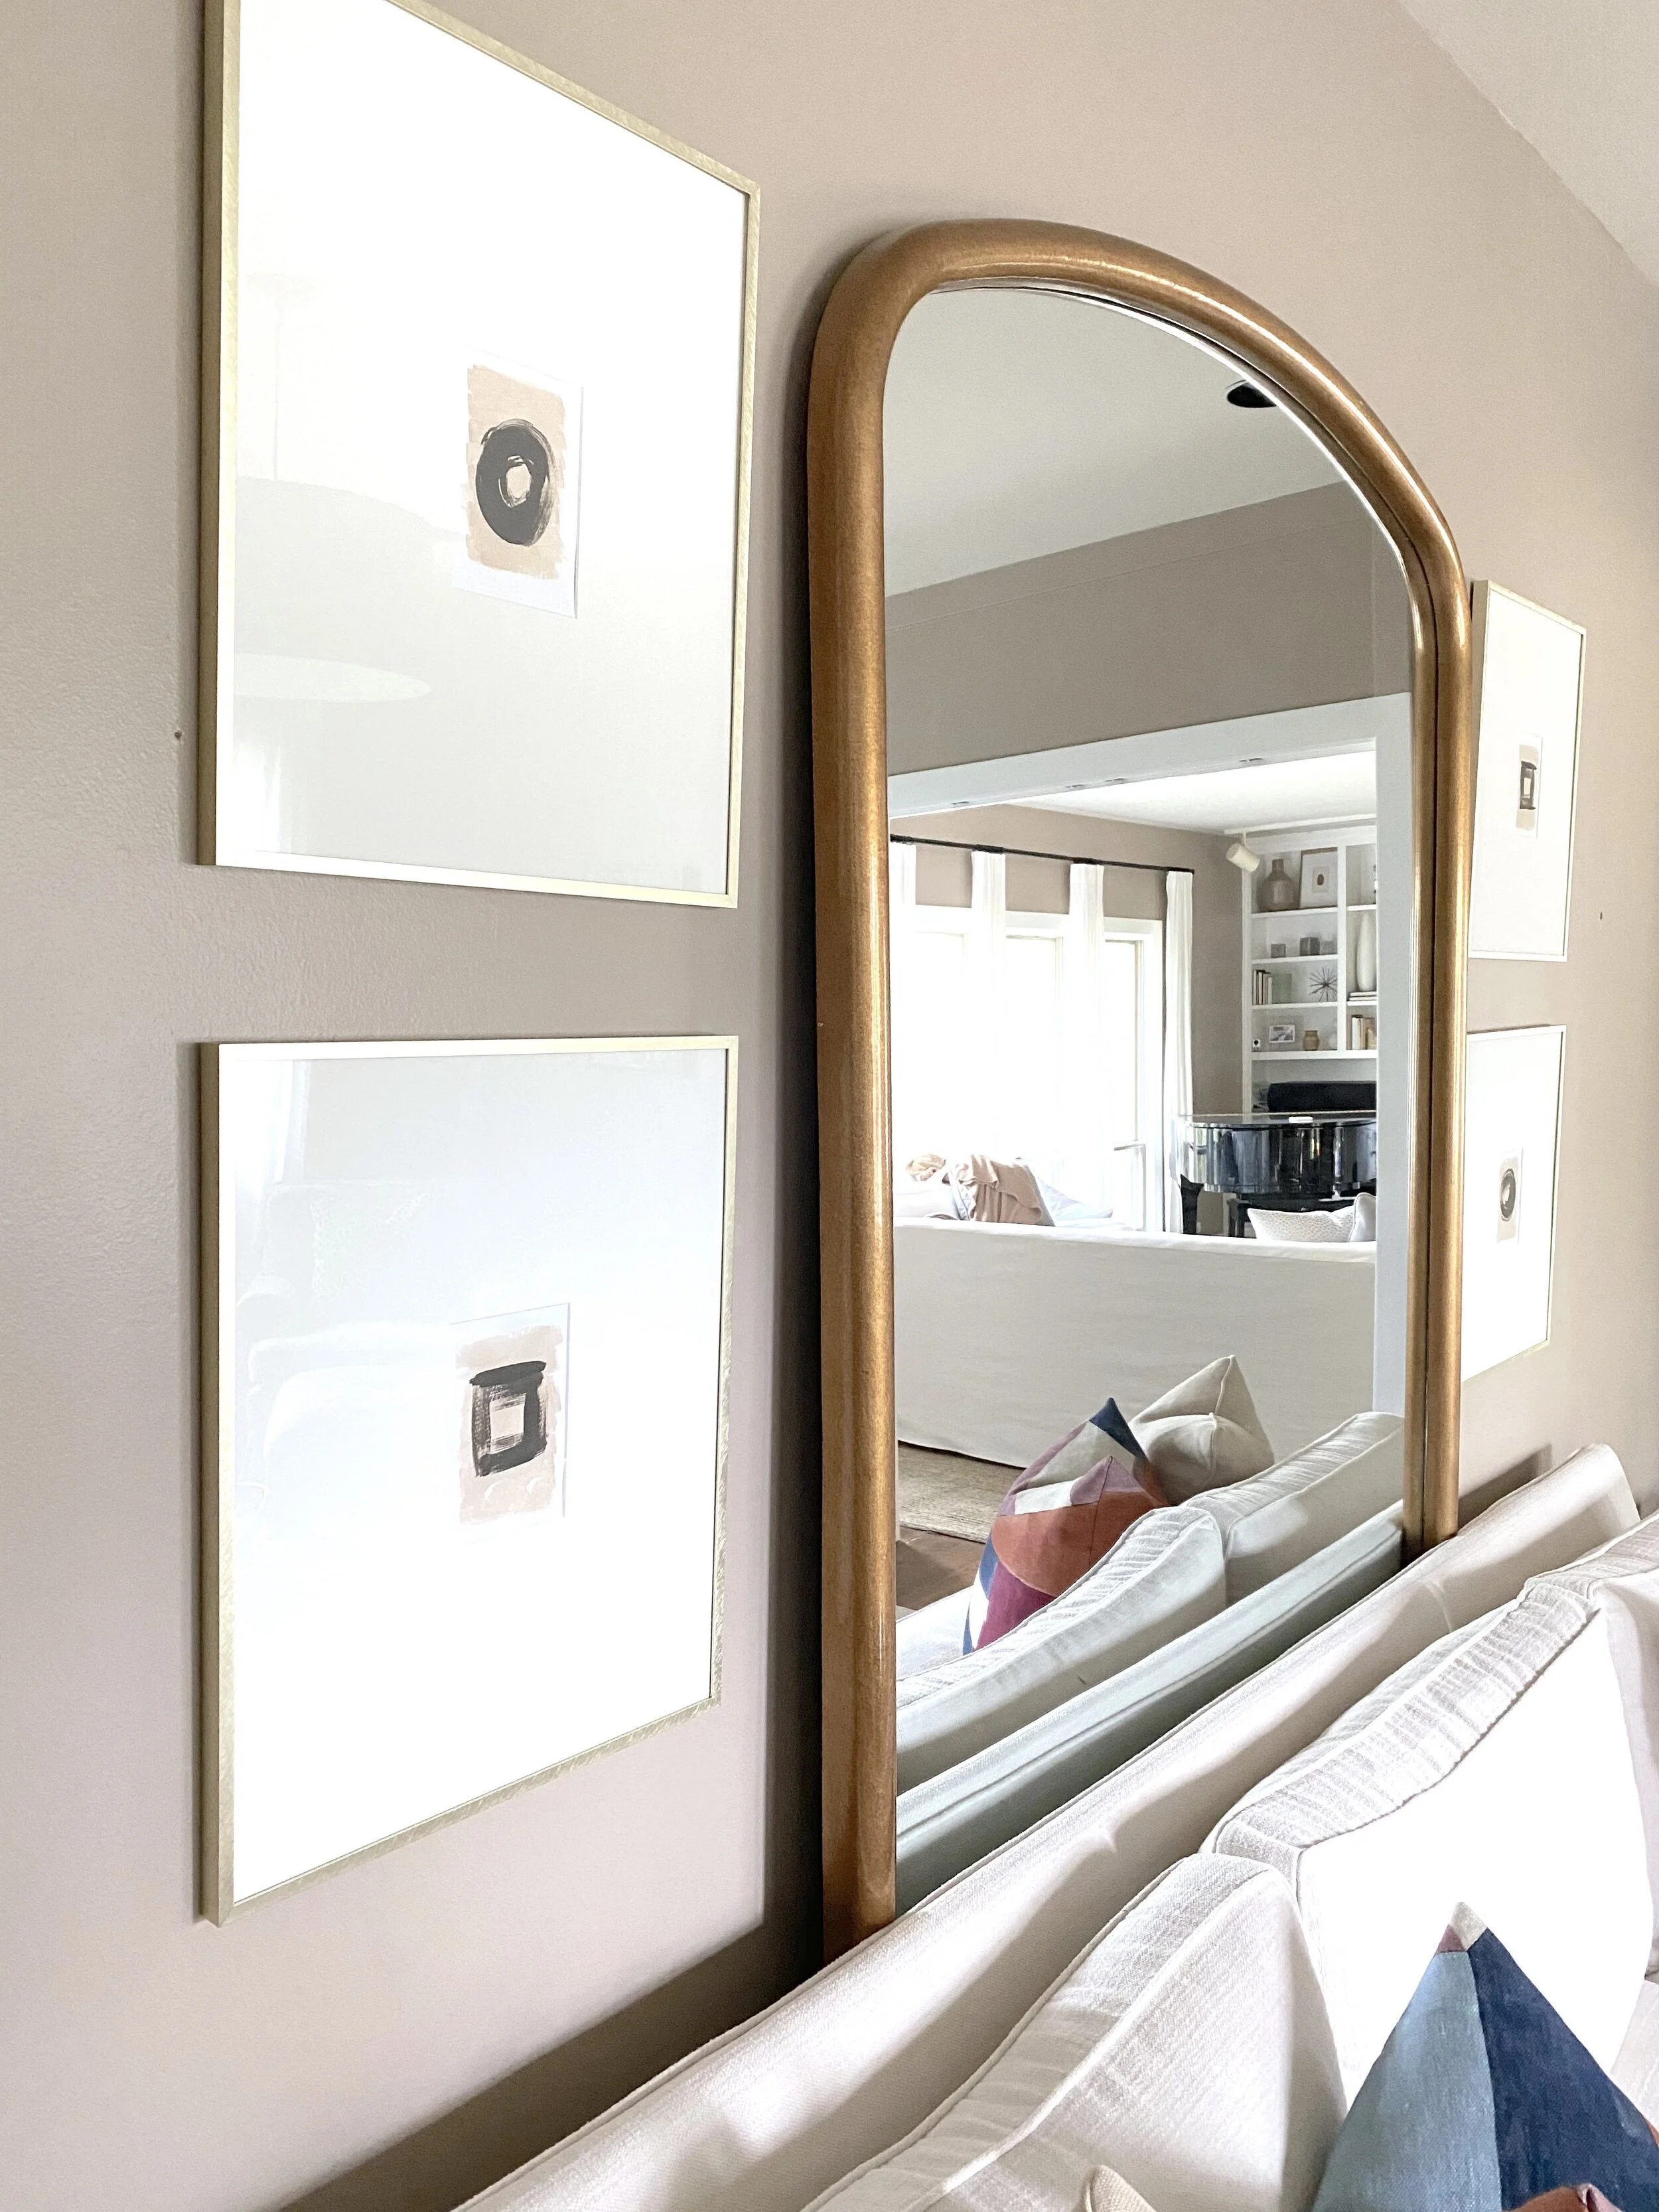
I created a few easy mini abstract paintings for our sitting room and love the way they turned out! I am sharing a few details with you so you can easily recreate the look in your own home!
You will need…
4x6 White Watercolor Paper
Acrylic Paint - 2 colors
Water
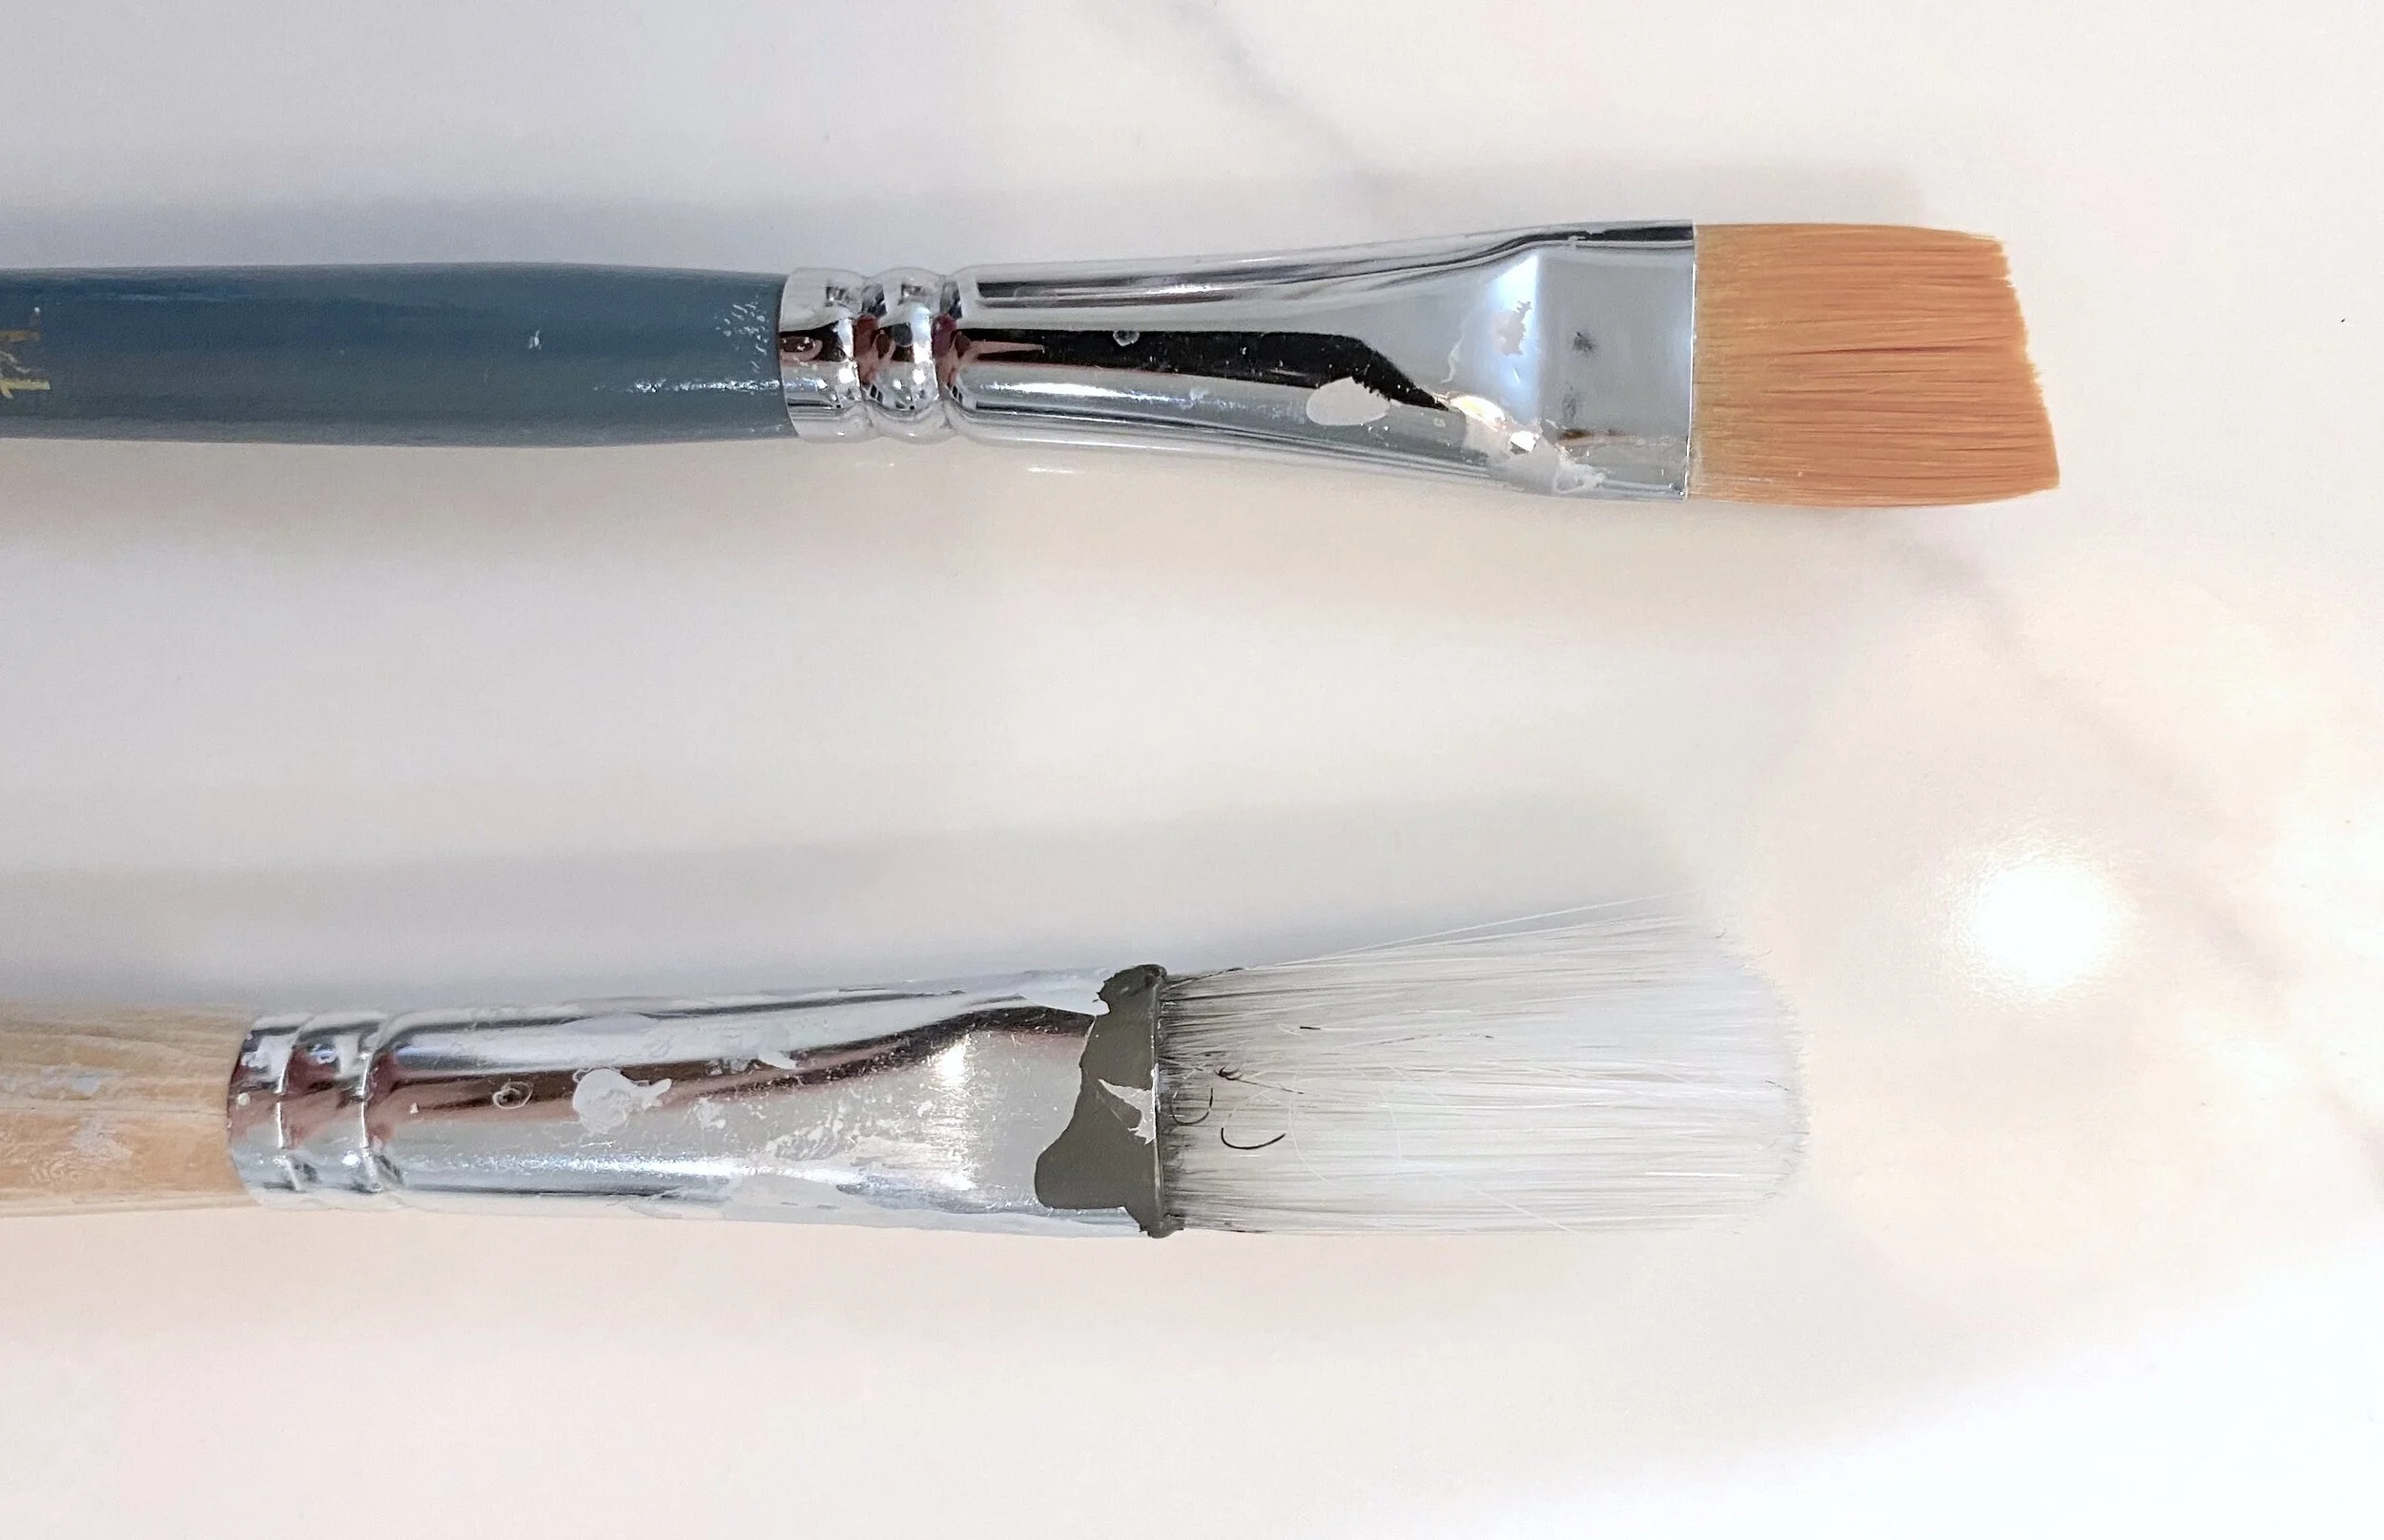
Paintbrushes
Mat (I had mine cut at Hobby Lobby)


I start with multiple pieces of plain white watercolor paper. I take the lighter color of the 2 colors that I have chosen and mix with a little bit of water. This helps thin the paint out so it appears more like a watercolor. Then I create the background by spreading the paint thinly across the paper.
I create multiple options so I can choose my favorites when I am done painting. This gives me a variety and takes the pressure off messing up off the table.
Leave the edges uneven and wait for them to dry before adding the second step.

After the bottom layer is dry, I use regular acrylic paint to add my shapes. I leave the edges rough to add texture. This part does not need to be perfect. Make sure to leave it a little streaky to achieve this look.
I decided to go with a square and a circle to mix things up.
Once this part dries, you are ready to pick your favorites. Then frame and hang!
Details on framing below.

Frame and Mat Details
I used this frame and had mats cut to fit the frame at Hobby Lobby. The actual frame and white mat is a 16x20. Hobby Lobby charged $14 a mat for this size. The price varies depending on size! I had them cut out a 4x6 opening in the center of the mat to create this look.
The frame I chose is listed as the 11x14 option on the Target listing. It is referring to the opening of the image but the actual frame is a 16x20 so I went with this option.